


The C-curve is a position we find ourselves in often during Pilates — but it can be surprisingly tricky to master, whether you’re a beginner or a seasoned practitioner.
Getting Into the C-Curve
To set up (on or off the Reformer):
- Start seated with legs bent or straight.
- Tuck your pelvis and roll back half way so your spine rounds.
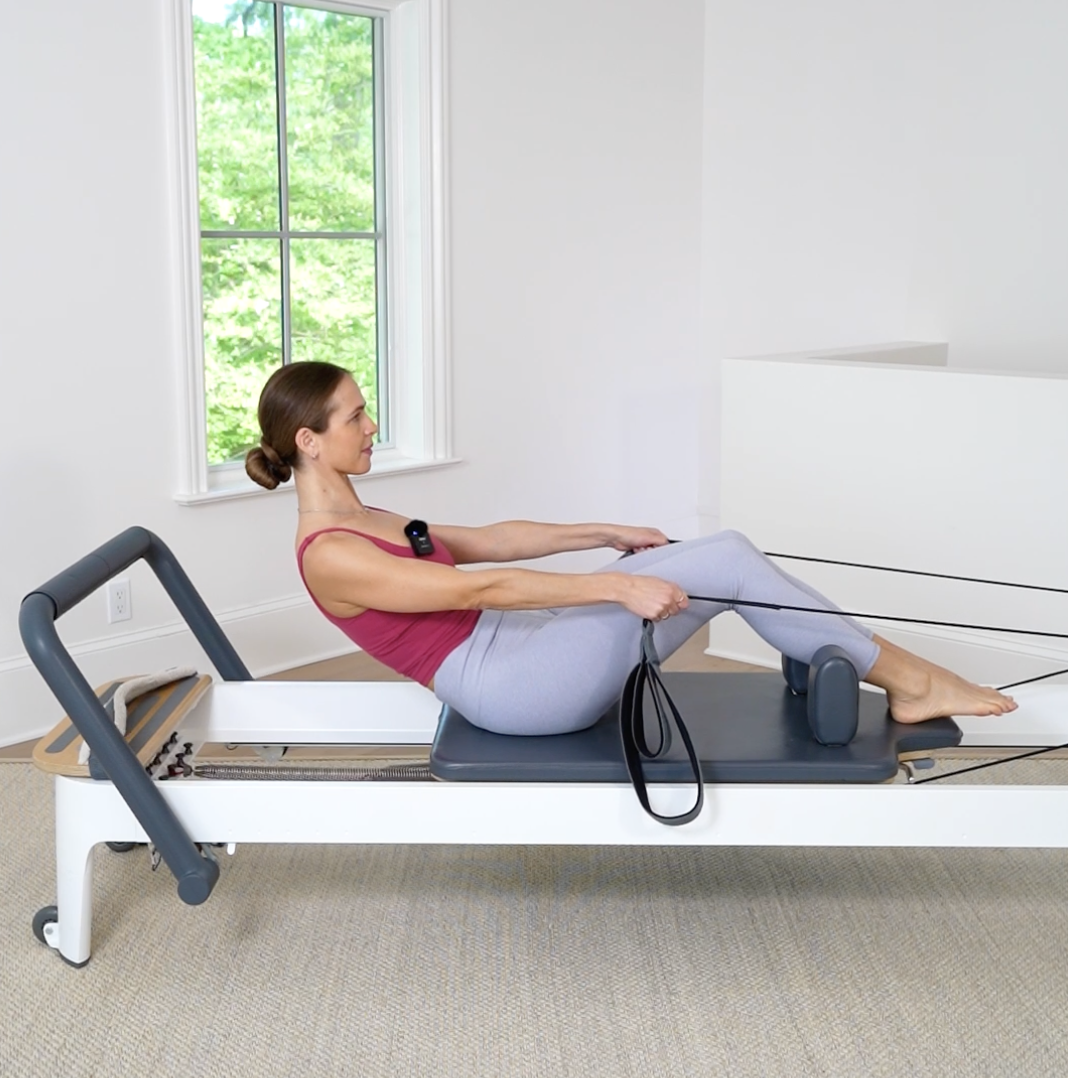
You’ll see this shape in so many Pilates exercises:
- Half roll-downs
- C-curve abdominal variations
- Rowing facing back on the Reformer
- Short box abdominal series
- And even exercises like Jackknife, Long Spine Stretch, Roll-Over, Tendon Stretch, and Long Back Stretch have C-curve concepts
Now, let’s break down how to find your version of the perfect C-curve.
1. Give Yourself Freedom
Not everyone’s C-curve will look the same — and that’s a good thing. Our spines, proportions, and mobility are all different.
For example, someone with longer legs may find it easier to roll down halfway, while someone with a shorter leg-to-torso ratio might need to stay a little higher to maintain control.
💡 Pro tip: Only roll back as far as you can keep your feet/legs down. Remember, this isn’t an ab curl — your shoulder blades should be well off the mat.
If you’re working on the Reformer, keep in mind that lighter spring tension makes it harder for your core. If you feel like you’re losing control or your feet/legs are lifting, try increasing the spring tension slightly.
It’s not one-size-fits-all — play around until you find what feels supportive for your body.
2. Wheel the Pelvis
Initiate the movement from your pelvis. Think of your pubic bone pushing up and your tailbone tucking under as you roll back. The deeper you go, the more your pelvis needs to “wheel” beneath you.
3. Think Big Curve
If you over-round your back, you may actually disengage your core and miss out on the support of your back muscles.
Visualize your spine forming part of a large, spacious circle, not a small, compressed one. That image helps you stay lifted and long — not collapsed. It also helps with opening up the chest more and releasing the shoulders away from the ears.
4. Core Activation
This position is all about deep core engagement. Imagine drawing your hip bones up and in toward your ribs while keeping length through your spine.
To recruit your pelvic floor, think of gently pulling those muscles up and away from your legs. You can also squeeze your inner thighs together or place a small ball between your knees to help activate the connection.
5. Find the Oppositional Pull
A strong C-curve comes from active oppositional energy.
- Vertical: Before rolling back, grow tall from your sit bones to the crown of your head. Maintain that length as you begin to round back.
- Horizontal: Think of your legs reaching away from your spine and your spine reaching away from your legs.
That dual opposition keeps you deeply connected and turns this shape into a true full-body experience.
Practice Makes Progress!
The more you explore your C-curve, the more natural it will feel. It’s not just a shape — it’s a sensation of strength, length, and control.
Ready to Move?
Check out all of my on-demand workouts designed to help you feel your best!
Grab your 7-day free trial today and start giving your back the love it deserves.
Gabrielle Saran


